A Step-by-Step Guide to Setting Up Your Horseshoe Playing Area
Whether you’re looking to upgrade your backyard fun or train for local tournaments, setting up a proper horseshoe playing area makes all the difference. A well-planned court improves your accuracy, keeps the game fair, and makes your outdoor space more enjoyable.
In this detailed step-by-step guide, we’ll walk you through everything you need to build the perfect horseshoe pit—right from choosing the ideal location to installing stakes, framing pits, and adding pro-level enhancements.
Let’s dig in (literally)! 🔨
Why a Proper Horseshoe Setup Matters 🎯
Before you grab a shovel, it’s important to understand why building your horseshoe court properly pays off in the long run.
| Benefit | Why It Matters |
|---|---|
| 🎯 Consistency | Standard spacing and surface materials help you throw more accurately over time. |
| ⚖️ Fair Play | Regulation setups ensure competitive balance, even in casual games. |
| 🛡️ Safety | Avoids errant throws hitting nearby people or property. |
| 🧱 Durability | A structured setup lasts longer and protects your gear. |
Even casual players benefit from a well-built area. Think of it like building a mini sports arena—only way more fun and budget-friendly!
What You’ll Need to Get Started 🧰
🔩 Basic Equipment:
- 2 regulation steel stakes (1” diameter, 36” long)
- 4 steel horseshoes (look for NHPA-approved sets if training seriously)
Horseshoe Game Set
- Tape measure (minimum 40 feet)
- Hammer or mallet
- Shovel or post hole digger
- Carpenter’s level
⚙️ Optional Materials (Highly Recommended):
- Treated lumber (for pit borders)
- Sand, clay, or loose soil (for pit fill)
- Concrete mix or rebar (for stake support)
- Landscaping fabric (to prevent weed growth)
- Rake and tamper (to level fill)
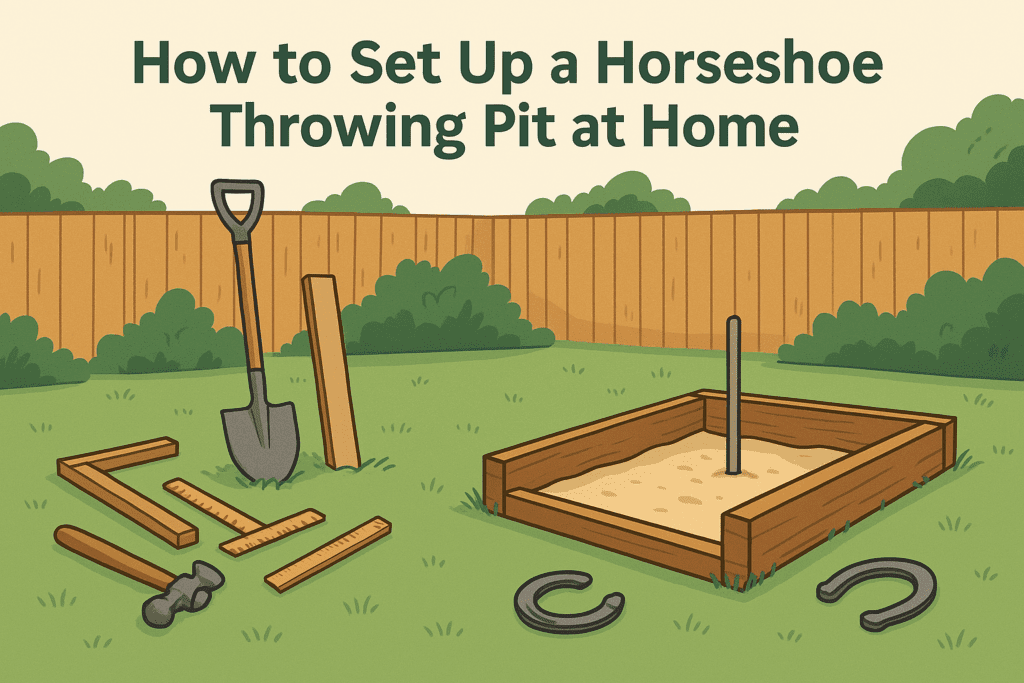
🔧 Step-by-Step Instructions to Build Your Horseshoe Court
🔹 Step 1: Choose the Right Location
Look for a flat, open space away from windows, gardens, walkways, and play areas.
Recommended Dimensions:
- Length: 50 feet total (includes buffer)
- Width: At least 10 feet
- Sun Position: North-south alignment helps reduce glare
📝 Pro Tip: Avoid low-lying areas to prevent water pooling.
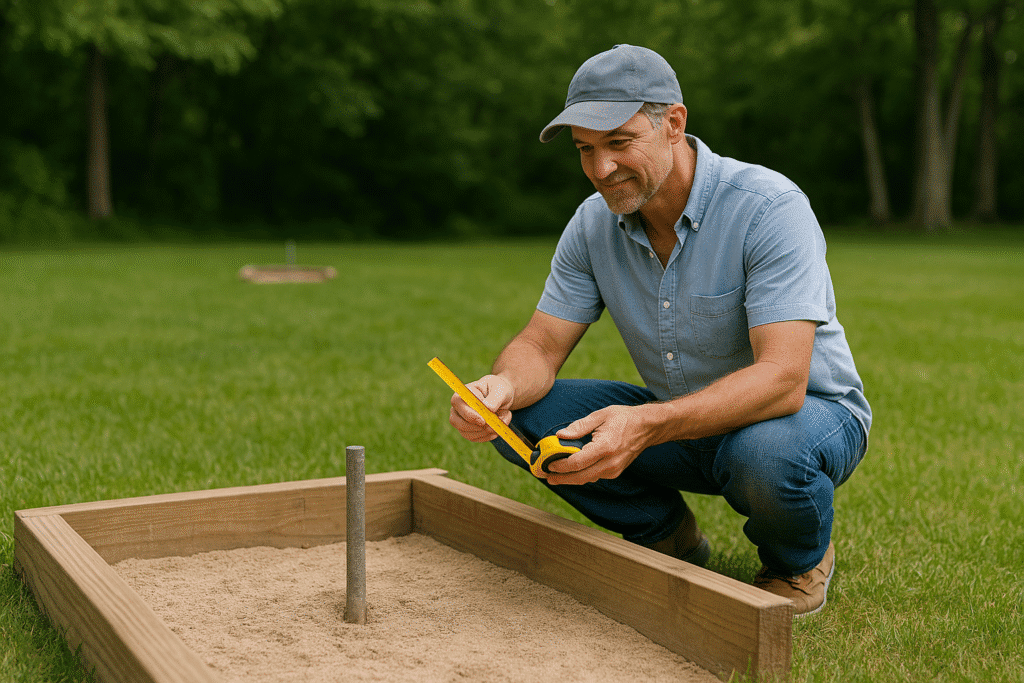
🔹 Step 2: Mark Your Court Layout
Use your tape measure to mark out two pit areas exactly 40 feet apart (from front stake to front stake). This is the regulation distance.
Stake Positioning:
- 40 feet apart
- 15 inches above ground
- Tilted forward 12 degrees (about 3 inches forward)
For recreational use or smaller yards, you can shorten the distance to 30 feet.
🔹 Step 3: Install the Stakes Securely
Dig two holes, each 36 inches deep.
Installation Options:
- Quick: Tamp the dirt around the stake firmly with a mallet.
- Sturdy: Use quick-drying concrete around each stake base.
- Flexible: Insert stakes into PVC sleeves anchored in concrete for removability.
Make sure stakes are aligned, angled the same, and level using a string or laser line.
🔹 Step 4: Dig and Fill the Pits
A well-filled pit cushions your throws, prevents excessive bounce, and keeps stakes stable.
Pit Size Recommendations:
| Type | Width x Length | Depth |
|---|---|---|
| Regulation | 36” x 72” | 4–6” |
| Backyard | 30” x 60” | 3–4” |
Top Pit Fill Materials:
- Sand: Budget-friendly, easy to rake
- Clay: Preferred in competition (low bounce)
- Crushed oyster shell: Drains well and compacts over time
Use a rake or tamper to level it out after filling.
🔹 Step 5: Frame the Pits (Optional But Smart)
Framing your pit area keeps the fill in place and adds polish to your setup.
Materials Needed:
- Pressure-treated 2×6 or 2×8 boards
- Galvanized nails or screws
- Ground stakes or rebar to anchor the wood
Instructions:
- Construct a rectangle that fits your pit dimensions.
- Use corner braces for strength.
- Drive stakes into the ground at each corner to secure.
🎯 A solid frame prevents shifting and makes maintenance easier.
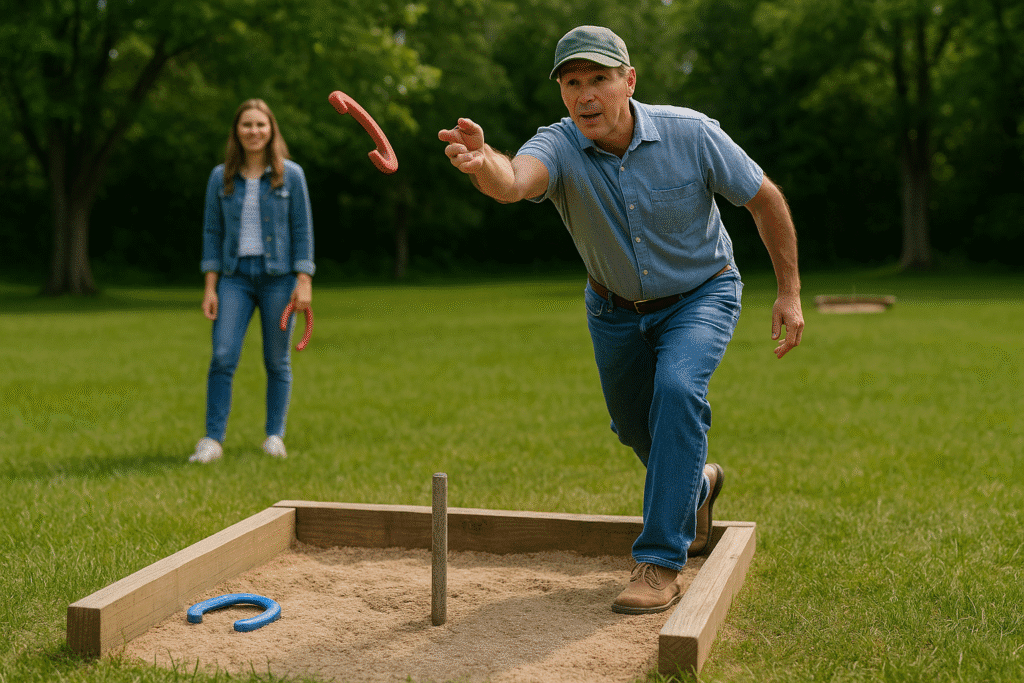
🔹 Step 6: Create Throwing Platforms
For competitive or serious recreational play, it’s good practice to add pitching platforms.
Platform Dimensions:
- 6 feet long x 18 inches wide
- Can be wood, concrete, rubber mat, or painted zones
💡 Platforms keep players on even ground and prevent turf damage.
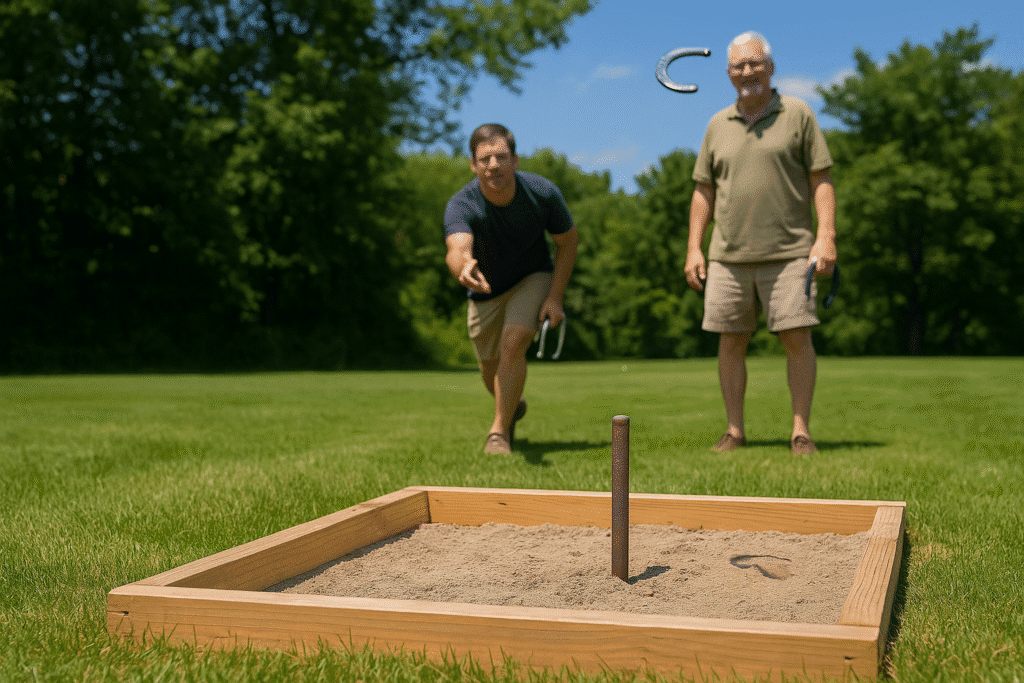
🔹 Step 7: Test and Fine-Tune
Throw several test horseshoes and assess:
- Are the stakes sturdy?
- Is the pit deep enough and level?
- Do horseshoes bounce or stick?
- Is the throwing area comfortable?
Make adjustments before finalizing your setup. Small tweaks now mean smoother games later.
🏗️ Optional Upgrades for a Premium Setup
Want to take it to the next level? Add these enhancements:
- 🪵 Backboards: Prevent stray shoes from damaging nearby areas
- 💡 Lights: Play under the stars
- 🪑 Benches or seating: For spectators or in-between rounds
- 📊 Scoreboards: Track competitive games
- 🕳️ Drainage channels: Especially useful if using clay or soft soil
These extras elevate your court from backyard pit to professional-grade arena!
🧼 Horseshoe Court Maintenance Tips
Routine care ensures your court stays functional and safe.
| Task | Frequency |
|---|---|
| Rake pit fill | After every game |
| Check stake stability | Weekly |
| Inspect framing | Monthly |
| Remove debris | As needed |
| Cover with tarp | During off-season |
🧽 Extra Tip: Clean and store your horseshoes to avoid rust buildup.
🧳 Don’t Have Space? Try Portable Options
If you’re working with limited space or don’t want a permanent court:
- Use portable horseshoe kits with rubber or collapsible stakes.
- Lay out your court with cones or string for temporary lines.
- Bring roll-out turf mats for mobile throwing zones.
🛍️ Recommended Product:
St. Pierre Sports Royal Classic Horseshoe Set
A solid, durable set that includes NHPA-approved horseshoes, sturdy stakes, and a carrying case—perfect for both permanent and portable play.
❓ Frequently Asked Questions
Q: Can I build a court without using concrete?
Yes, packing the stake hole tightly with dirt and gravel can provide decent stability, especially for light play.
Q: What’s the best fill for minimal maintenance?
Play sand is easiest to maintain, while clay gives the best gameplay experience but requires more upkeep.
Q: How can I make my court kid-friendly?
Reduce stake distance to 20–30 feet, use rubber horseshoes, and surround the pit with soft turf or mulch.
Final Thoughts: Build It and Pitch It! 🏆
A great horseshoe court isn’t about fancy materials—it’s about thoughtful planning, solid construction, and your love of the game.
Whether you’re playing on a full-sized regulation court or a cozy backyard setup, taking the time to build it right gives you years of fun, fitness, and maybe even some friendly competition.
🔔 Ready to start building your backyard court? Grab your stakes, measure your space, and start digging. Your perfect pitch is just a few steps away.
👉 Got a favorite horseshoe setup tip or photo? Share it in the comments—we’d love to see your pit in action!
Hi there, and thanks for stopping by! My name is Larry, and I’m the voice behind PlayingHorseshoes.com I love the game and have been playing since I was a kid. I started this blog because I am passionate about the sport, and with all the technology, I hope the sport don’t die. I plan to do my part to keep it going for me and my brother’s sake. Thanks for stopping by, feel free to subscribe and comment. Thank You!