Mastering Horseshoe Pitching Technique: From Grip to Release
Introduction: The Real Secret to Consistency
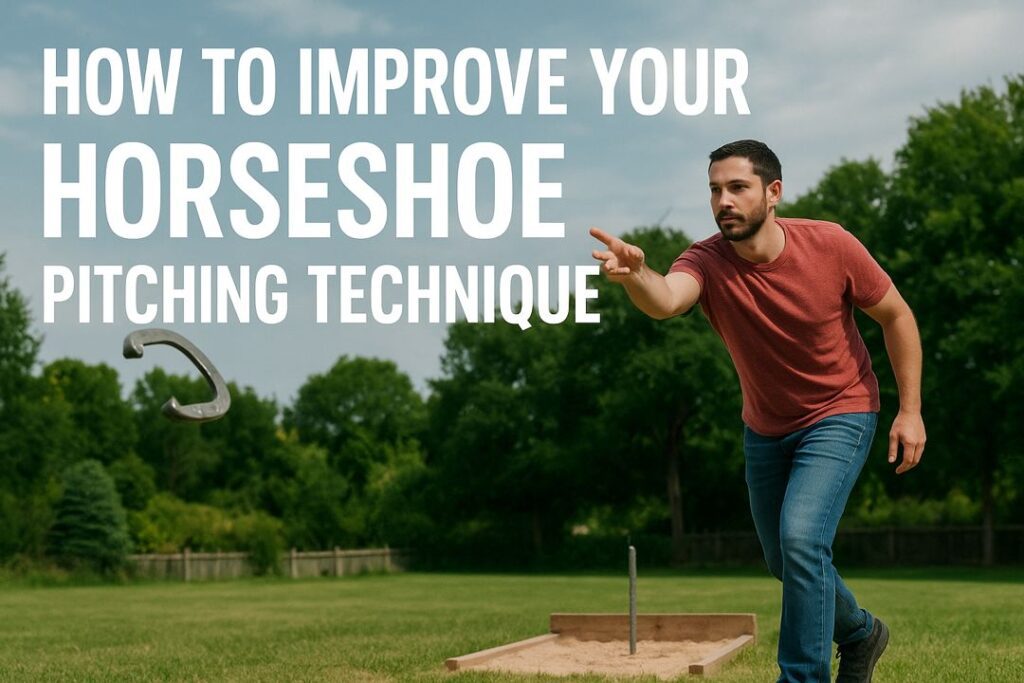
If you’ve ever tossed a horseshoe and thought, “Why did that one wobble when the last one flew straight?” — welcome to the club. Horseshoe pitching looks simple, but anyone who’s played more than a couple of games knows it’s all about technique. The difference between wild tosses and consistent ringers doesn’t come from muscle—it comes from mastering the basics: grip, stance, swing, release, and follow-through.
This guide breaks down each step of the throwing motion, gives you drills to practice, and highlights the gear that helps you learn faster. Whether you’re brand new or looking to sharpen your form, you’ll walk away ready to pitch with confidence.

The Foundation: Getting the Grip Right
The way you hold the horseshoe sets the stage for everything else. There are two main grips every player should know:
The Flip Grip (Beginner-Friendly)
- Hold the horseshoe flat in your hand with your thumb across one shank and fingers along the other side.
- When you throw, the shoe flips end-over-end.
- Best For: Beginners learning control, kids, or casual backyard games.
Pros:
- Easy to learn.
- Less wrist motion needed.
- Works well at shorter backyard distances.
Cons:
- Less accuracy at longer distances.
- Harder to control in windy conditions.
The Turn Grip (Pro Standard)
- Grip the horseshoe so it rotates about 1¼ turns in the air before landing.
- Release comes off your index finger, giving it a clean spin.
- Best For: Intermediate to advanced players, or anyone planning to play in a league.
Pros:
- More consistent landing angle.
- Higher ringer percentage once mastered.
- Handles distance and wind better.
Cons:
- Tougher learning curve.
- Requires patience and practice.
Practice Drill:
Grab 10 shoes. Throw all 10 using the same grip. Don’t change anything—just get comfortable with the feel. Write down how many fly straight vs wobble. That’s your baseline.
Stance and Setup: Building Your Launchpad
A solid stance gives you balance, accuracy, and consistency.
Square Stance
- Both feet shoulder-width apart, facing the stake.
- Keeps your body steady and prevents swaying.
- Great for beginners focusing on accuracy.
Step-Through Stance
- Start square, then step forward with your lead foot as you throw.
- Adds rhythm and momentum to your toss.
- Preferred by many experienced pitchers.
Tips for Better Stance:
- Keep your knees slightly bent—too stiff kills your rhythm.
- Eyes on the stake the entire time.
- Stay relaxed; tension ruins accuracy.
The Swing: Finding Your Rhythm
Think of the swing as the “wind-up.” Smooth, controlled motion matters more than power.
- Start low: Horseshoe in your pitching hand, arm relaxed at your side.
- Backswing: Bring it straight back like a pendulum.
- Forward swing: Smoothly move forward in a straight line toward the stake.
Common Mistakes:
- Jerky motions (causes wobble).
- Swinging across the body (causes sideways throws).
- Throwing too hard (overthrows and fatigue).

Practice Drill:
Stand 10 feet from the stake. Focus only on swinging smoothly and landing the shoe near the stake—not on scoring. Do this for 5–10 minutes per session until the motion feels natural.
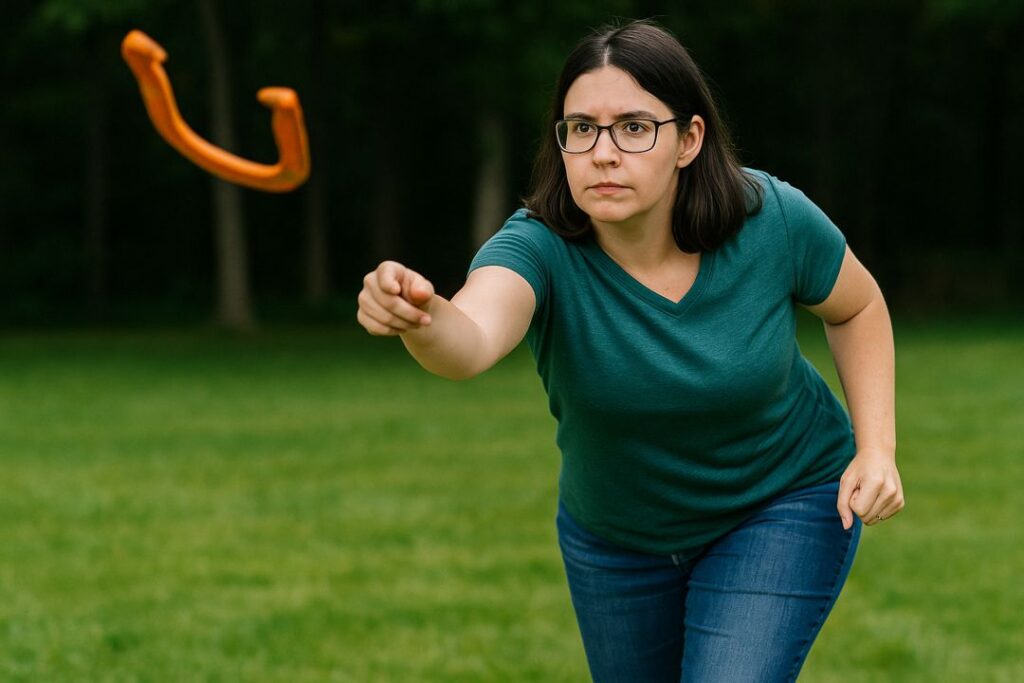
Release: The Moment of Truth
This is where everything comes together. The release controls the rotation, arc, and landing.
For Flip Grip
- Let the shoe roll off your fingertips.
- Aim for a gentle end-over-end flip.
- Don’t snap your wrist—keep it smooth.
For Turn Grip
- Release just as your arm passes your lead leg.
- Shoe should leave your hand spinning gently, not wobbling.
- Target 1¼ turns in the air before it reaches the stake.
Pro Tip: Think of it like bowling. A smooth, consistent release beats raw power every time.
Follow-Through: The Forgotten Step
Most beginners drop their hand right after release. Big mistake.
- Keep your arm moving toward the stake after you let go.
- Point your fingers at the target.
- This ensures consistency and better accuracy.
Practice Drill:
Film yourself throwing (just a phone on a chair works). Watch if your arm stops short or points off to the side. Correct by consciously finishing every throw, pointing at the stake.
Putting It All Together: A Throw in Motion
- Grip: Choose flip or turn and hold consistently.
- Stance: Square or step-through—find what feels natural.
- Swing: Smooth, pendulum-like motion.
- Release: Gentle, consistent, clean.
- Follow-Through: Arm extended, fingers at the stake.
Get each step right, and you’ll see ringers start stacking up.
Practice Routines for Mastery
Consistency doesn’t happen by accident—it’s built through repetition.
Daily 15-Minute Drill
- 5 minutes: Grip practice (flip or turn).
- 5 minutes: Smooth swings at half distance.
- 5 minutes: Full throws at regulation distance.
Accuracy Challenge
- Throw 50 shoes.
- Record how many land within 6 inches of the stake.
- Track improvement week to week.
Ringer Tracker
- Keep a notebook. For every 100 shoes, write down the ringers hit.
- This becomes your personal “ringer percentage”—the stat pros use to measure skill.
Gear That Helps Technique
A good set of shoes makes learning techniques easier. Here’s what I recommend for different stages:
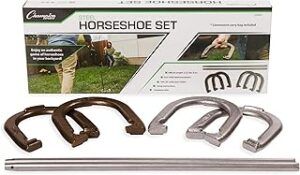
Horseshoe Game Set
- St. Pierre American Professional Series Set – Great for beginners practicing flip grip; lighter, easier to control.
- Franklin Sports Advanced Horseshoe Set – Perfect balance for learning turn grip; tournament-grade durability.
- Champion Sports Horseshoe Set – Affordable option, with easy-to-see color-coded shoes, perfect for beginners keeping track of points.
- Gordon Pro Horseshoes – For players serious about long-term technique and league play.
Common Beginner Mistakes (and Fixes)
- Changing grips constantly: Pick one and stick with it until it’s natural.
- Gripping too tightly: Causes wobble. Relax your hand.
- Throwing too hard: Horseshoes is finesse, not force.
- Skipping follow-through: Ruins accuracy. Always finish pointing at the stake.
- Practicing only casually: Improvement needs intentional drills.
FAQs
Q: What’s the best grip for beginners?
A: Start with the flip grip—it’s easier. Transition to the turn grip once you’re comfortable.
Q: How long until I get consistent?
A: With 15 minutes a day, most players improve noticeably in 2–3 weeks.
Q: Should I practice at full distance right away?
A: No. Start closer, then gradually move back to regulation.
Q: Why do my shoes wobble in the air?
A: Usually from an inconsistent grip or jerky release. Slow down and focus on smoothness.
Q: Do heavier shoes help accuracy?
A: For some players, yes—but only if your form is solid.
Final Thoughts: Technique Makes the Player
Here’s the truth: you don’t need the strongest arm or the fanciest shoes to be good at horseshoes. You just need solid technique practiced consistently. Grip, stance, swing, release, and follow-through—that’s the formula.
👉 My advice: grab a decent set like the St. Pierre American Professional Series Set, commit to one grip, and practice short sessions every day. Before long, you’ll be pitching with confidence—and you’ll be the one explaining technique to the next beginner at the pit.
Hi there, and thanks for stopping by! My name is Larry, and I’m the voice behind PlayingHorseshoes.com. I love the game and have been playing since I was a kid. I started this blog because I am passionate about the sport, and with all the technology, I hope the sport doesn’t die. I plan to do my part to keep it going for my brother and my sake. Thank you for stopping by. Feel free to subscribe and comment. Thank You!