
Beginner Horseshoe Gear Mistakes—And How to Avoid Them
Horseshoes is a timeless game—easy to learn, endlessly enjoyable, and a fantastic way to bring people together. But for beginners, one simple misstep can turn a fun day of pitching into a frustrating experience. Whether you’re setting up your first backyard game or eyeing your first league match, choosing the wrong gear can hold back your progress or even ruin the game entirely.
In this comprehensive guide, we’ll walk you through the most common horseshoe gear mistakes beginners make, explain why they matter, and show you exactly how to avoid them. You’ll finish knowing what to buy, what to skip, and how to set up your game for smooth sailing and better throws.
🟢 Why Gear Choices Matter—Even for Beginners
A lot of new players underestimate how important the right equipment is. They figure, “It’s just horseshoes—how different can it be?” But gear that’s too light, unbalanced, or poorly made can throw off your accuracy, hinder your grip, and even lead to injuries or damaged property.
If you want to play well, improve your skills, and truly enjoy the game, starting with the right gear is everything.
❌ Mistake #1: Buying Ultra-Cheap Horseshoe Sets
The number-one mistake new players make? Buying the cheapest horseshoe set available. You’ve seen them in stores—plastic or cast iron horseshoes that feel hollow, come in bright colors, and cost under $30. But here’s the problem: they’re not designed for real play.
Why It’s a Problem:
- Unbalanced throws: Cheap horseshoes aren’t forged properly. They wobble in the air and land unpredictably.
- Chipping & cracking: Cast iron and plastic can break with just a few throws, especially on hard surfaces.
- No regulation feel: You can’t build good habits with non-standard weights or shapes.
- Frustrating gameplay: Poorly made shoes make it hard to score ringers or control your aim, which quickly takes the fun out of the game.
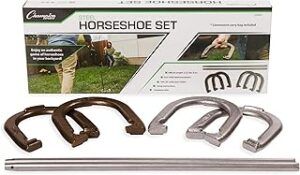
Horseshoe Game Set
What to Do Instead:
Invest in forged steel horseshoes, ideally NHPA-approved (even if you’re just playing casually). You’ll notice the difference in balance, durability, and how much better your throws feel.
❌ Mistake #2: Ignoring Weight and Size Specs
Every horseshoe has a weight—and for regulation play, it’s critical. But even for casual use, using a horseshoe that’s too light or too heavy can cause bad form and reduce accuracy.
Regulation Specs:
- Weight: Between 2 lbs and 2 lbs 10 oz (most players prefer around 2.5 lbs)
- Length: Up to 7 5/8 inches
- Width: Up to 7 1/16 inches
- Tip Opening: Not to exceed 3.5 inches
Why It’s a Problem:
- Too light? Your throws won’t land solidly. It’s hard to control your arc or aim for the stake.
- Too heavy? You’ll tire out quickly, especially if you’re not used to the weight.
- Off-size shoes? Won’t feel “right” and throw off your development.
What to Do Instead:
Choose horseshoes that clearly list their weight and dimensions, and avoid any sets that don’t provide that information. If possible, go for a mid-range weight (2.4–2.6 lbs) to start.
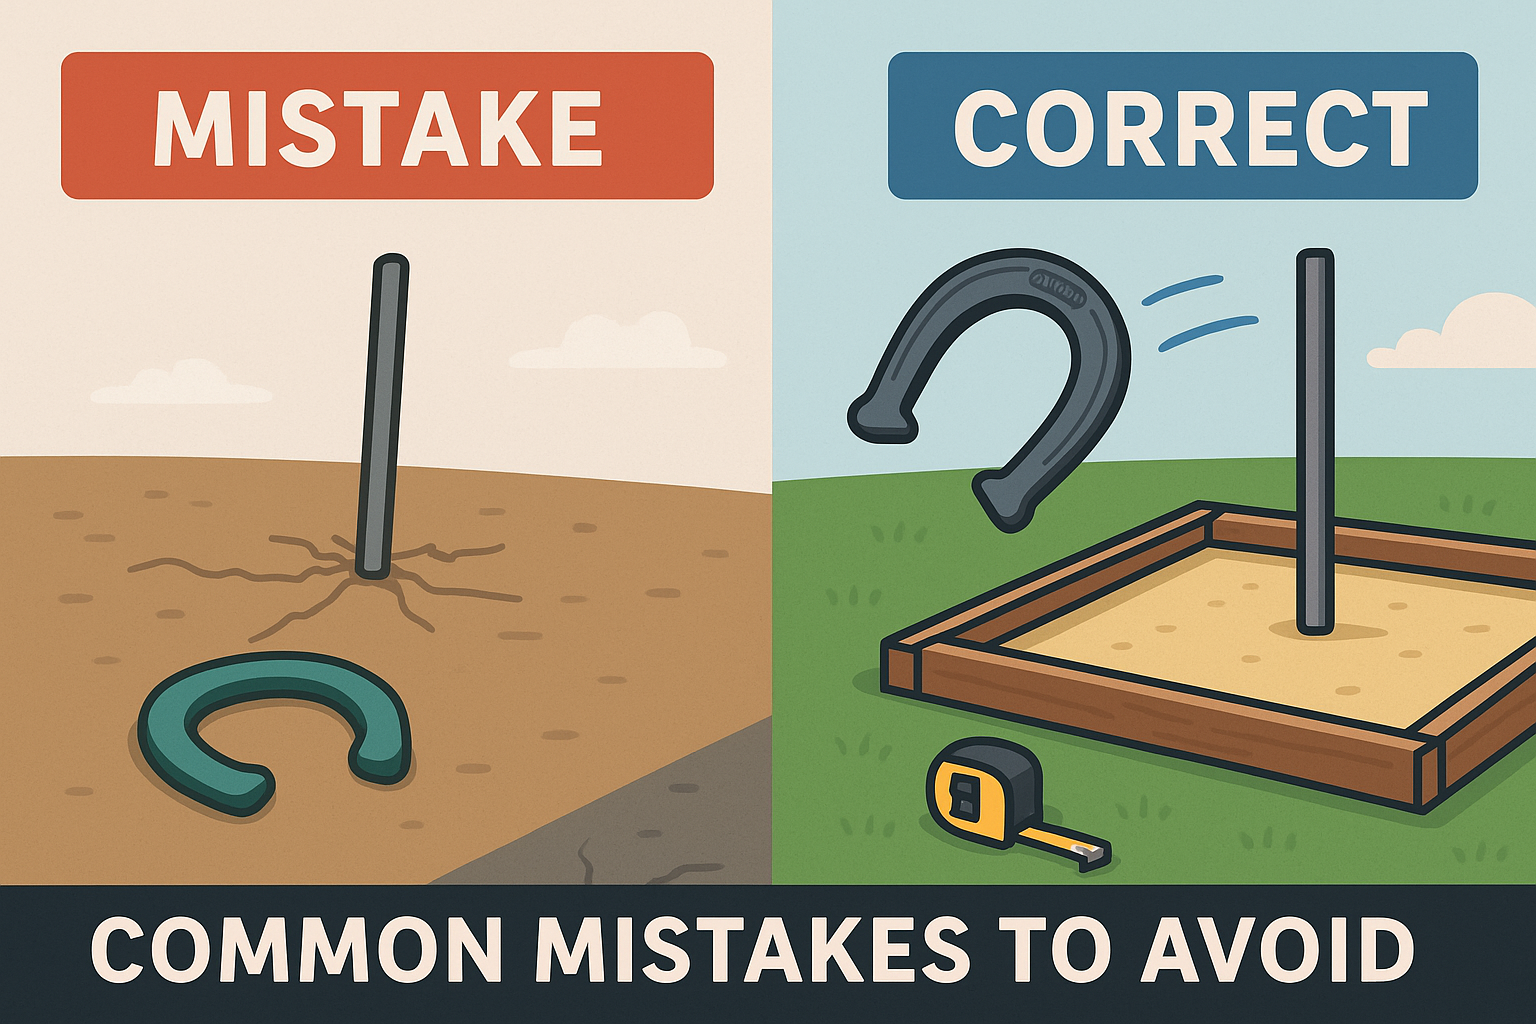
❌ Mistake #3: Skipping Stake Quality or Stability
Stakes are the most overlooked part of a horseshoe game—and they’re one of the most important. Beginners often:
- Use stakes that are too short
- Use stakes that aren’t anchored
- Use sticks or PVC pipes as “stakes”
Why It’s a Problem:
- Wobbly stakes = bad landings: Horseshoes bounce or tip unpredictably.
- Wrong angle = unfair play: Regulation stakes are tilted forward 12 degrees.
- Too short? Horseshoes slide or miss entirely.
What to Do Instead:
Use steel stakes, 36 inches long, anchored so 15 inches remain above the surface. Anchor them in firm soil, sand, or clay—or pour a quick concrete base if you’re building a permanent pit. Always tilt them 12 degrees forward.

❌ Mistake #4: Not Leveling or Measuring Your Pit Properly
Many beginners just eyeball their stake distance or stick them in at random angles. But this completely changes the game’s difficulty and accuracy.
Why It’s a Problem:
- Incorrect spacing (too close or far): Throws feel unnatural, and you won’t improve.
- Unleveled stakes: Throws bounce strangely or can’t wrap properly.
- No pit borders: Sand and shoes scatter, and your playing area becomes messy and inconsistent.
What to Do Instead:
- Measure the full 40 feet between stakes (from inside edge to inside edge).
- Use a measuring tape and a stake leveler for setup.
- Build or buy a wooden frame to hold your sand or clay and give your pit structure.
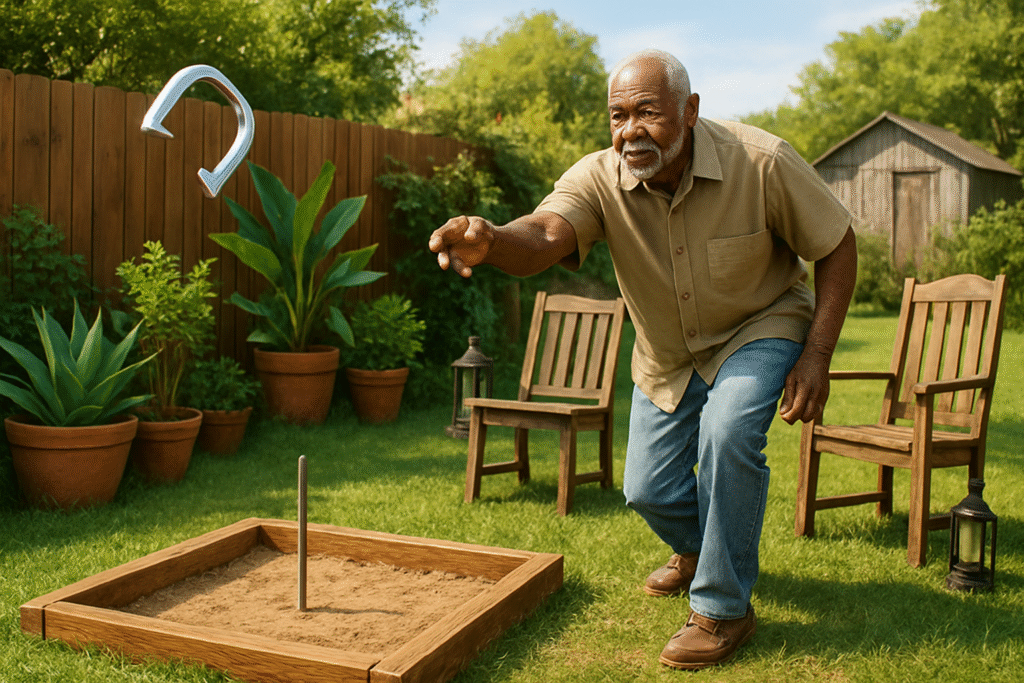
❌ Mistake #5: Playing with the Wrong Surface
Pitching horseshoes on grass, concrete, or hard-packed dirt might seem fine at first, but it makes scoring much harder—and increases your risk of bounce-outs or damaged shoes.
Why It’s a Problem:
- Hard surfaces = damage: Steel horseshoes chip or crack.
- Too soft? Horseshoes bury themselves in the ground.
- Uneven? Your throws roll, bounce, or ricochet wildly.
What to Do Instead:
Set up your pit using:
- Sand (easiest to find and maintain)
- Clay (preferred by leagues for a softer, grippy landing)
- Crushed oyster shell (for elite setups)
Always rake and level your pit between games for the best results.
❌ Mistake #6: Assuming Rubber Horseshoes Are Just as Good
Rubber horseshoes are great—for kids, seniors, and indoor games. But many beginners start with rubber sets thinking they’re “easier” or “just as good.”
Why It’s a Problem:
- Too light: Rubber doesn’t fly the same way as steel.
- Poor grip: The throw feels awkward and inconsistent.
- Not regulation size/weight: You can’t build proper form.
What to Do Instead:
If you’re practicing for real play, invest in regulation steel shoes. If you want safe indoor fun or a set for kids, rubber is fine—but it’s not a replacement for real horseshoes.
❌ Mistake #7: Skipping Accessories That Make a Big Difference
Most beginners think all they need are stakes and shoes. But small accessories make your game easier, safer, and more enjoyable.
What Beginners Often Miss:
- Scorekeeper: Avoid arguing or forgetting the score.
- Carrying case: Protect your shoes and make transport easier.
- Pit brush/rake: Keeps your surface smooth and fair.
- Measuring tape or tool: Helps settle disputes about closest shoe.
- Backboard or backstop: Prevents stray throws from damaging property or disappearing into the bushes.
What to Do Instead:
Start with a basic set of accessories—then upgrade over time as your gameplay improves.
🛠️ Bonus: Beginner Setup Checklist (Don’t Start Without These!)
Before your next match, make sure you’ve got:
✅ 2 Regulation-weight steel horseshoes per player
✅ 2 Steel stakes (36 inches long, 1-inch thick)
✅ Measuring tape (40 feet distance between stakes)
✅ Leveler (for proper 12-degree forward tilt)
✅ Framed pit with sand, clay, or soft dirt
✅ Rake or brush for pit maintenance
✅ Carrying case or storage bin
✅ Scorekeeper or notepad
✅ Water or spray bottle (for moistening clay if needed)
✅ Optional: Backstop, pit liner, gloves, wire brush
🧠 How to Fix Gear Mistakes Fast
Already made some of these mistakes? Here’s how to fix them:
- Wrong horseshoes? Upgrade to NHPA-approved models like the St. Pierre American Professional Series.
- Wobbly stakes? Dig a deeper hole or anchor with concrete.
- Unleveled pit? Reset your stakes using a level and refill with fresh sand.
- Playing surface too hard? Add a couple of inches of sand and build a wooden frame around the area.
Remember—horseshoes is a low-cost game, and small improvements go a long way.
🏁 Final Thoughts: Play Smart from the Start
The game of horseshoes is one of the oldest and most satisfying outdoor games around. But even this simple pastime comes with its fair share of rookie mistakes. Starting with poor gear or setup can turn fun into frustration. The good news? Every beginner mistake is easy to fix—especially if you know what to avoid.
By choosing the right gear, setting up your pit correctly, and skipping those cheap, flimsy sets, you set yourself up for better throws, longer games, and a lot more fun.
So before you buy that $20 set at the discount store or toss shoes on a patch of grass, take a moment to plan your setup. A little bit of preparation turns a casual toss into a memorable game.
🎯 Play smart. Start strong. And don’t let bad gear throw you off.
Hi there, and thanks for stopping by! My name is Larry, and I’m the voice behind PlayingHorseshoes.com I love the game and have been playing since I was a kid. I started this blog because I am passionate about the sport, and with all the technology, I hope the sport don’t die. I plan to do my part to keep it going for me and my brother’s sake. Thanks for stopping by, feel free to subscribe and comment. Thank You!

