Perfect Your Release: Finding the Sweet Spot Every Time
If you’ve been pitching horseshoes long enough, you already know: a great throw lives and dies at the moment of release. You can line up perfectly, grip the shoe just right, and swing with all the grace of a pro — but if you let go a fraction of a second too soon (or too late), that shoe’s going nowhere near the stake.
That’s why perfecting your release is the single most powerful thing you can do to level up your game. The right release delivers:
- Better Accuracy – no more pulling left or pushing right.
- Clean Rotations – whether you’re throwing a flip or a 1¼ turn, you get a smooth flight.
- Consistent Distance – no more overshooting the stake one inning and falling short the next.
This guide breaks down everything you need to know — mechanics, timing, practice drills, troubleshooting, even mental hacks — to help you find your sweet spot every single time.
Understanding the Biomechanics of a Great Release
Let’s start with a quick breakdown of what’s happening in your body at release:
- Shoulder: Acts as the hinge for your throwing arc.
- Elbow: Stays relaxed, guiding the shoe forward.
- Wrist: Stays firm — this is where most beginners go wrong (too much twist).
- Fingers: Do the actual work of letting the shoe go at just the right instant.
If any one of these pieces is too tight or too loose, your release will be inconsistent.
Coach’s Insight: Think of it like a golf swing. The motion is smooth, repeatable, and ends in the same follow-through every time. Horseshoes is the same — rhythm matters more than raw power.
Step 1: Diagnose Your Current Release
Before we fix anything, you need a baseline.
Video Yourself
Set up your phone at waist height, perpendicular to the pit, and record a dozen throws. Watch in slow motion:
- Are you releasing at the same point each time?
- Does your wrist stay straight or roll inward/outward?
- Are you following through naturally, or stopping your motion after release?
Most players are surprised at what they see. This one step can immediately reveal why your shoes aren’t flying consistently.
Step 2: Build Muscle Memory With Slow-Motion Throws
Perfect release timing is all about muscle memory — your body knowing when to let go without overthinking it.
Slow-Motion Drill
- Grip the shoe and take your stance.
- Swing forward at 50% speed.
- Release when your hand reaches your natural point.
- Watch the shoe’s flight — did it rotate the way you wanted?
- Repeat 20–30 times focusing only on release timing.
This is boring but powerful. Slowing down helps your brain map the right motion, which you’ll later speed up to game pace.
Step 3: Match Release Timing to Throw Style
Different throws require slightly different release timing:
- Flip Pitch: Release slightly earlier so the shoe has room to make one clean flip.
- 1¼ Turn: Release at the apex of your swing, allowing the shoe to make its smooth rotation.
- 1¾ Turn: Release just a hair later for a longer rotation.
Experiment with each style for 10–15 pitches and take notes on what “feels” best.
Step 4: Add Follow-Through Consistency
A smooth follow-through locks in your release timing.
Follow-Through Drill
- After each throw, freeze for two seconds with your hand pointing toward the stake.
- Your palm should be open, fingers extended, wrist flat.
- This position should look and feel the same every time.
Step 5: Troubleshoot Common Release Problems
Here’s how to fix the issues I see most often when coaching new players:
| Problem | Likely Cause | Quick Fix |
|---|---|---|
| Shoes wobble or corkscrew | Wrist twisting | Keep wrist firm; focus on finger release, not flicking |
| Shoes land too far left | Releasing too early | Hold a fraction longer, focus on “pushing” toward stake |
| Shoes land too far right | Releasing too late | Open hand sooner, visualize letting go at thigh level |
| Shoes fall short | Not enough forward momentum | Step through after release, add smooth power |
| Shoes overshoot | Too much arm speed | Relax, shorten backswing slightly |
Step 6: Practice Under Game-Like Conditions
Once you have a consistent release in practice, test it under “pressure.”
- Score Yourself: Play solo games and track points.
- Add Distractions: Play music or have a friend heckle you — simulate real match nerves.
- Play in Different Weather: Practice on windy or damp days to learn adjustments.
Pro Tip: The best pitchers can throw the same shoe whether they’re alone in their backyard or in a tournament final. The difference? They’ve trained that release until it’s automatic.
Step 7: Strength & Flexibility for a Better Release
Believe it or not, some simple exercises can make your release smoother:
- Wrist Curls: Build forearm strength for better control.
- Shoulder Rotations: Keep your throwing shoulder loose and pain-free.
- Grip Trainers: Improve finger strength for a cleaner release.
You don’t need to hit the gym — 10 minutes a day of light conditioning goes a long way.
Step 8: Mental Routine for Consistency
The mental side of release timing is just as important as the physical.
- Take a deep breath before every pitch.
- Visualize the shoe flying straight and ringing the stake.
- Step into the same exact stance each time — ritual builds rhythm.
This isn’t just sports psychology — it literally programs your brain to fire the right muscles at the right time.
Advanced Release Drills
For players who want to go deeper:
- Target Drill: Place a towel halfway to the stake and try to land the shoe just beyond it. This trains power and release timing together.
- Eyes-Closed Drill: Once you feel confident, try throwing with eyes closed. You’ll feel the release instead of overthinking it.
- Pressure Drill: Compete with a friend — first to 10 ringers wins. Pressure helps “lock in” good habits.
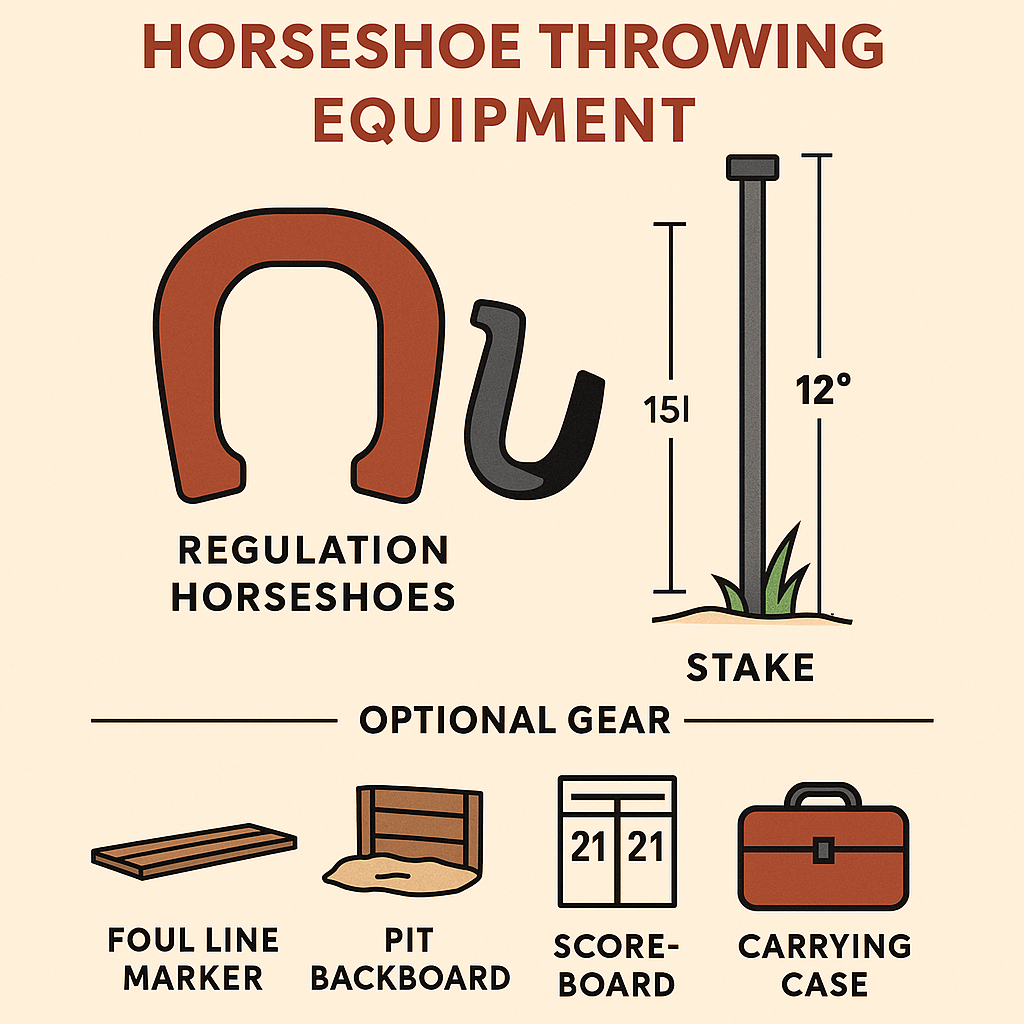
Recommended Gear
For serious practice, I recommend getting the Champion Sports Horseshoe Set with portable stakes. It’s durable enough for repeated practice sessions, and you can take it to a park or even a buddy’s yard.
Pair it with a simple training journal to log your sessions — noting what felt right, what didn’t, and how many ringers you hit per set. Over time, you’ll spot patterns and improve faster.
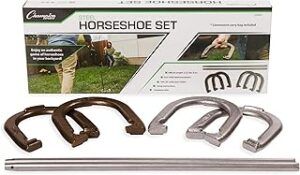
Horseshoe Game Set
Call to Action
Here’s your challenge:
- Go outside today and throw 50 shoes focusing solely on your release.
- Write down how many land flat, how many wobble, and where they miss.
- Practice daily for one week — I guarantee you’ll notice smoother throws and more ringers.
Consistency beats talent. Your release is the one thing you control every single pitch.
FAQs
Q: Should I change my grip if my release feels off?
A: Only after you’ve ruled out timing issues. Adjusting grip too soon can mask the real problem.
Q: How many throws should I practice per day?
A: 40–60 is ideal for building muscle memory without overuse.
Q: Is there an ideal release height?
A: Aim to release just above knee height for flips, slightly higher for turns.
Q: Can I overthink my release?
A: Absolutely — that’s why drills and routines are critical. Practice until it feels automatic.
Final Thoughts
Perfecting your release is a journey, not a single adjustment. The more you train, record, analyze, and repeat, the more natural it becomes — until you don’t have to think about it at all.
Once you find your sweet spot, the game changes: you pitch with confidence, score more consistently, and actually enjoy playing more.
So stop guessing, start practicing, and let’s make every throw count.
Hi there, and thanks for stopping by! My name is Larry, and I’m the voice behind PlayingHorseshoes.com. I love the game and have been playing since I was a kid. I started this blog because I am passionate about the sport, and with all the technology, I hope the sport doesn’t die. I plan to do my part to keep it going for my brother and my sake. Thank you for stopping by. Feel free to subscribe and comment. Thank You!