How to Break In a New Pair of Horseshoes So They Feel Like Old Friends
There’s nothing quite like the first toss of a brand-new pair of horseshoes. The metal is smooth, the edges are crisp, and the balance feels tight and unfamiliar — a reminder that these shoes haven’t lived through your muscle memory yet. They haven’t bounced off your stake a hundred times. They haven’t felt sand, dirt, heat, cold, water, or wear. Not yet.
Out of the box, a new set often feels stiff, slippery, and a little “off.” That’s normal. Raw metal needs miles before it settles into the hands of its owner. Just like a good baseball glove, horseshoes get better the more you break them in properly.
If you want a new pair to feel seasoned, predictable, and comfortable — the kind of shoes that feel like they grew into your throw — here’s exactly how to break them in the right way.
Why Breaking In Horseshoes Matters
Every horseshoe is cast differently. Even shoes from the same mold have tiny surface and balance imperfections you won’t notice until you throw them.
Breaking in your horseshoes:
- Creates a natural texture for better grip
- Softens sharp machining lines
- Helps the shoe “sit” better in your hand
- Adjusts the feel to your throwing style
- Adds micro-abrasions for consistent release
- Reduces bounce-outs caused by overly slick metal
A broken-in shoe isn’t just worn — it’s personalized. It becomes part of your rhythm.
Step 1: Clean Off the Factory Finish
Brand-new shoes sometimes arrive with:
- A thin protective coating
- Residual mold release
- Surface oils
- Powder from shipping
These make the shoe slick and reduce control.
How to fix it:
Wash each shoe with warm water and something mildly abrasive:
- A soft kitchen sponge with a scrub pad
- A stiff dish brush
- A microfiber cloth with baking soda
Avoid steel wool — it gouges, not smooths.
You’re not trying to scuff the metal yet — you’re just removing factory residue.

Step 2: Lightly Scuff the Grip Zones
Here’s the first real break-in step.
Use 1,000–1,500 grit sandpaper and lightly scuff:
- The inside curve where your fingers wrap
- The outer edge where your thumb sits
- Any surface that feels too smooth
You’re not roughing the shoe up — you’re taking the sheen off.
Think of it like taking shine off a basketball court. It should feel ready, not slippery.
This tiny amount of texture improves release instantly.
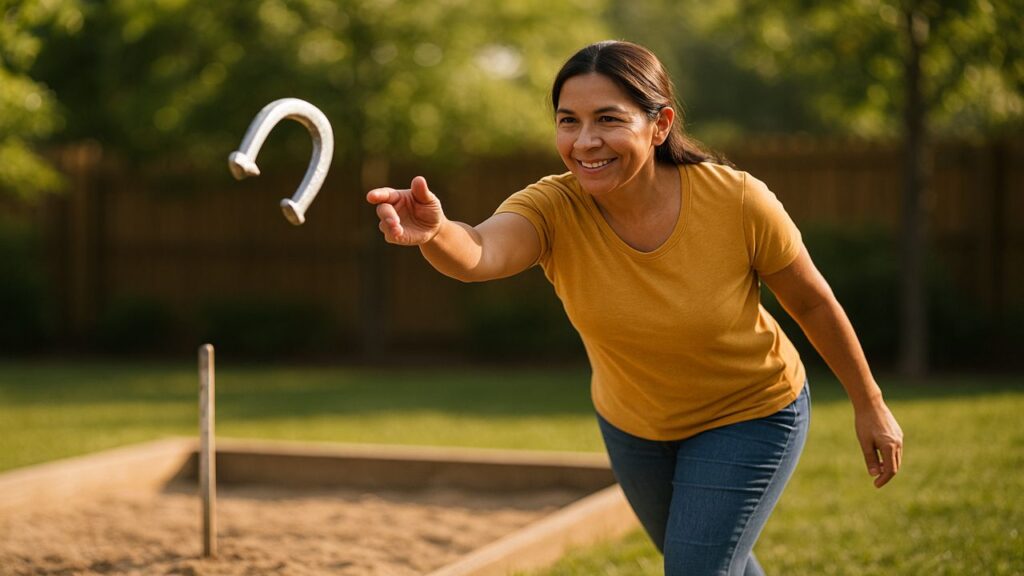
Step 3: Toss Short-Distance Warmups to Let Them Settle
Before you go full power from 40 feet, start slow.
Throw 5–10 feet mini-pitches:
- Light, soft tosses
- Gentle rotation
- Controlled flip or turn
- Let the shoe “wake up”
This warms up your arm and begins the first real collision impacts that start to season the metal.
It’s also where you start feeling the profile of the shoe — the weight, the rotation, the timing.
Step 4: Let Them Hit the Stake on Purpose
This step scares beginners, but pros know it’s essential.
A horseshoe needs to absorb:
- Stake hits
- Rim dings
- Glancing blows
- Off-center contact
That’s how it toughens up and grows character.
Start with intentional, low-power stake taps:
- Stand 5 feet away.
- Toss lightly so the shoe taps the stake or glances off the side.
- Rotate angles — front, side, half-turns.
This begins the “forging through play” process that old shoes are famous for.
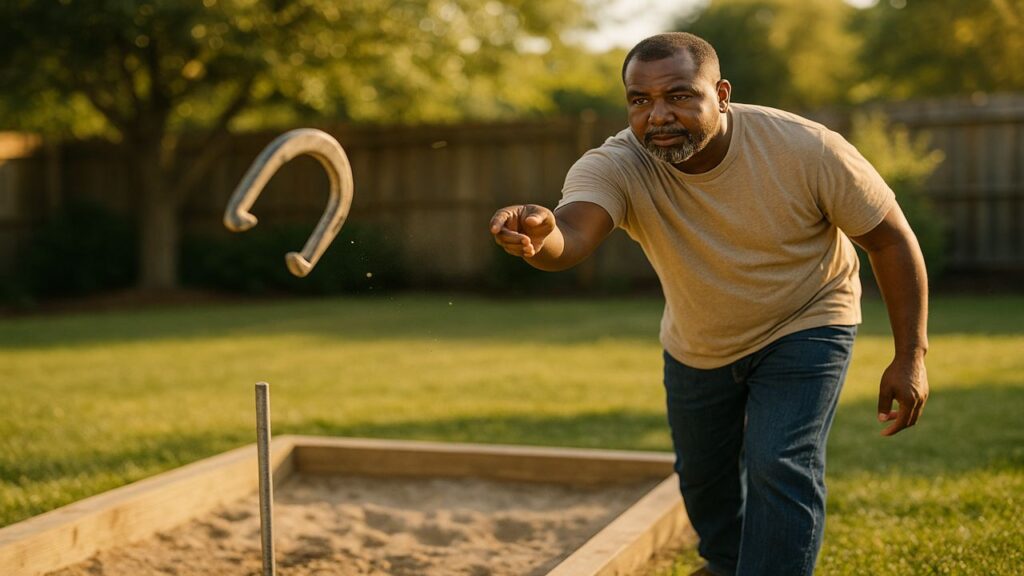
Step 5: Throw Full-Strength Sets
Now you’re ready to get serious.
Throw 20–40 full-strength pitches.
Give the shoes:
- Real rotation
- Real impact
- Real arc
- Real release
This is when you’ll first feel the shoes start to “lock in.”
The balance becomes predictable. The sound changes. The impact marks appear naturally.
There’s no substitute for actual throwing. The metal needs those collisions.
Step 6: Rotate the Shoes Between Pits and Weather Conditions
One session isn’t enough to fully break in a pair.
Over the next week, rotate environments:
- Dry pit
- Dampened pit
- Hard-packed sand
- Soft sand
- Cool evening air
- Warm afternoon sun
Why?
Metal reacts to temperature and surface conditions.
Breaking them in across multiple conditions ensures your shoes won’t feel “foreign” when the weather changes.
This is why seasoned shoes feel good year-round.
Step 7: Smooth Out Sharp Edges (If Needed)
Some new shoes have slightly sharp corners, especially around:
- The heel caulks
- The inner curve
- The prongs
If an edge catches your fingers or feels unnatural during release:
Use fine 1,000-grit sandpaper to soften it just a little.
Don’t reshape — just smooth.
1–2 minutes is all it takes.
Smooth edges = smoother rotation = better accuracy.
Step 8: Add Chalk, Resin, or Grip Powder (Optional)
Many seasoned players swear by a light grip enhancer during break-in.
Options include:
- Pitching resin
- Gym chalk
- Beeswax grip bar
- A tiny pinch of rosin
Apply sparingly.
You don’t want sticky shoes — you want a dry, confident grip.
If the metal still feels a little slick after Step 2, this helps bridge the gap until natural wear builds texture.
Step 9: Play a Full Game With Them
This is the true test.
A full 21-point match will give you:
- Natural collisions
- Real-speed release
- Stake ricochets
- Toe and caulk wear
- Organic scuffs
- Temperature cycling
- Sand abrasion
By the end of a full game, the shoes will feel dramatically different.
Many players say this is the moment when a new set finally “comes alive.”
Step 10: Let Them Rest Overnight Before the Next Session
Metal needs a cooling cycle.
After all that heat, friction, and force, letting the shoes sit overnight helps the surface stabilize, and micro-abrasions settle.
By your second or third session, the shoes will feel like they’ve aged six months.
Step 11: Maintain the Break-In With Light Grooming
Once they’re broken in, keep them feeling perfect.
Every few sessions:
- Brush off sand
- Wipe off moisture
- Check edges
- Remove grime
- Touch up grip texture if needed
Well-maintained shoes break in better and stay consistent longer.
Neglected shoes get uneven wear and lose balance.
How Long Does It Take to Break In a New Pair of Horseshoes?
On average:
- Quick break-in: 1–2 sessions
- Optimal feel: 1 week
- Fully seasoned: 1 month
But if you’re throwing regularly, it happens naturally without overthinking.
A Common Mistake: Over-Sanding
Many beginners go way too far on the sandpaper step.
If you make the metal too rough:
- Rotation becomes inconsistent
- Edges catch your fingers
- Bounce-off increases
- The shoe feels “scratchy”
Less is more.
Your goal is seasoning, not grinding.
Another Mistake: Breaking In Only One Shoe
Your pair must wear evenly.
Always throw both shoes — never break them in separately.
Your release needs consistency.
Your shoes need equal mileage.
This seems obvious, but a lot of players accidentally “favor” one shoe early on.
Product Recommendation
If you want a pair of shoes that break in smoothly without feeling overly slick or stiff, consider the Champion Sports Elite Horseshoes. They have a durable forged-steel build with a naturally textured surface — meaning they don’t feel glassy straight out of the box, and they season evenly with regular play. They’re sturdy, reliable, and handle break-in better than many entry-level sets.
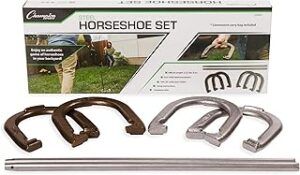
Horseshoe Game Set
Thoughts
Breaking in a new pair of horseshoes isn’t complicated — but doing it right makes a world of difference.
A well-seasoned shoe feels like an extension of your hand. It spins the way you expect, lands the way you like, and responds predictably to every release. With a little prep work, a few full-strength sessions, and multiple conditions, your new shoes will settle in faster than you think.
This journey from stiff, new metal to a personalized set of horseshoes is all about transforming the unfamiliar into allies in your game. With each throw, you’re cementing a partnership with your gear that can last for countless matches, paving the way for smoother and potentially more victorious games.
Soon enough, they’ll feel like old friends — the kind you trust when the game is tight, and you need a perfect ringer.