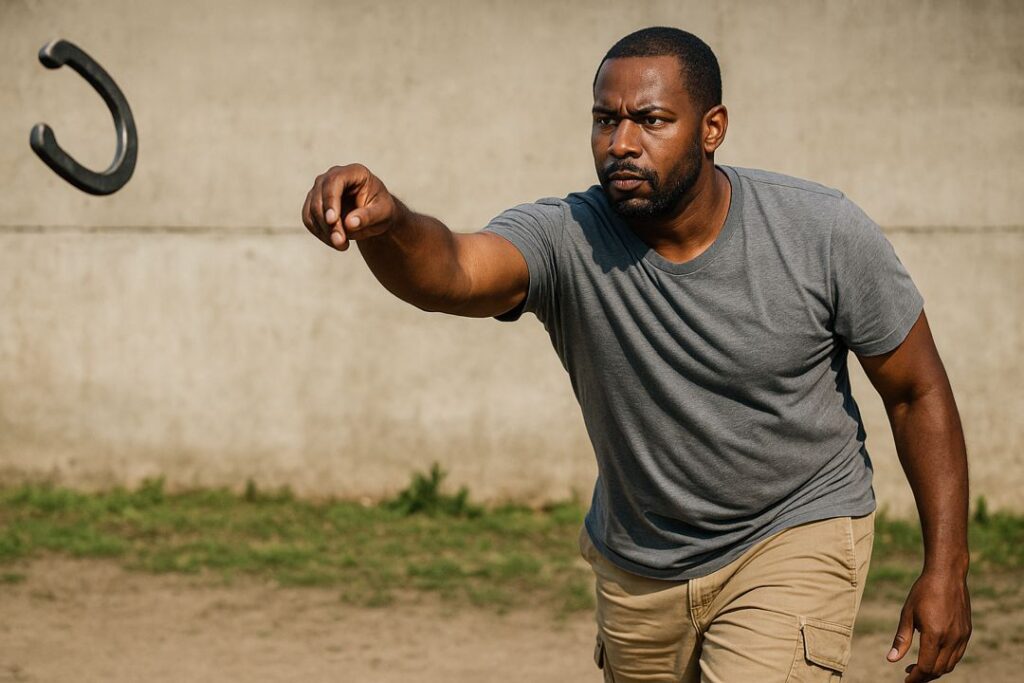
Why Hand Positioning Matters More Than You Realize
A horseshoe isn’t designed like a perfectly balanced ball or disc. It’s uneven. It’s open. The weight distribution shifts depending on how you hold it. That means the throw is heavily influenced by how your hand sets the shoe before the swing even begins.
Hand positioning affects:
- Rotation — the difference between a smooth turn and a chaotic wobble
- Release timing — when the shoe leaves your fingertips
- Arc consistency — how high the shoe rises and how it drops
- Landing angle — which determines stick, bounce, or skid
- Accuracy — your ability to hit the stake consistently
- Muscle memory — the repeatable form that creates ringers
If your hand is off by just a fraction of an inch, the shoe reacts differently. Beginners often blame their arm or stance when the real issue is their grip. When the shoe feels “wrong” in the hand, the entire throwing chain breaks down.
Once your hand positioning becomes automatic, everything becomes easier: your arm relaxes, your swing smooths out, and your release becomes repeatable. That’s when ringers start stacking.

Understanding the Three Most Common Horseshoe Grips
There’s no single “best” grip. Instead, the key is choosing the grip that matches your natural rotation, comfort, and throwing rhythm. Here are the grips most players rely on.
1. The 1¼ Turn Grip (The Most Common Grip in the Game)
This is the grip used by a majority of competitive pitchers. It produces a smooth one-and-a-quarter rotation during flight and tends to land clean around the stake.
Key points:
- Hold the inside shank lightly against the palm
- Fingers rest naturally along the top of the shank
- Thumb stabilizes the shoe but does not squeeze tightly
- Wrist stays straight — no twisting
- Ideal for medium to high arcs
This grip is great for beginners and veterans because it naturally reduces wobble.
2. The Flip Grip (Popular in Recreation and Backyard Play)
The flip grip sends the shoe flipping end-over-end without a lateral rotation. It’s easier to learn but harder to master at long distances.
Key points:
- Grip the shoe near the end of one shank
- Keep the wrist firm to prevent sideways spin
- Release slightly earlier so the shoe flips cleanly
- Works best with a lower, flatter arc
Players with naturally shorter arm swings often gravitate to this one.
3. The ¾ Turn Grip (For Players Who Like a Faster Rotation)
This grip produces a quicker, tighter rotation — great for players with a fluid arm swing and good control.
Key points:
- Grip sits slightly closer to the open end
- Fingers align near the midpoint of the shank
- Release is slightly later than the 1¼ turn
- Best for players who throw with a faster rhythm
This grip takes practice but becomes extremely consistent once it clicks.
How Hand Pressure Affects Your Throw
Many players don’t think about grip pressure, but it’s one of the biggest hidden problems in backyard horseshoes.
Here’s how pressure changes the pitch:
Too Tight
- Wrist locks up
- Release becomes delayed
- Rotation becomes forced
- Arc becomes inconsistent
Too Loose
- Release happens too early
- Shoe slips or wobbles
- Rotation becomes unpredictable
Just Right
- Fingers cradle the shank
- Thumb lightly guides
- Wrist stays relaxed
- Release feels smooth and effortless
A good test:
If you can feel tension in your forearm before the swing begins, you’re holding too tight.
Thumb Position: The Underrated Secret
The thumb doesn’t get enough credit for its role in a clean pitch. It acts like the stabilizer of a rifle — too far forward, and it changes aim; too far back, and the shoe becomes unstable.
Ideal thumb placement:
- Not pressing downward
- Not squeezing
- Not bent or curled
- Resting lightly along the flat of the shank
When players struggle with wobble, thumb pressure is often the problem.
Hand Angle Controls Rotation More Than the Arm Does
A lot of new players try to force rotation using their arm or wrist. That never works. Rotation is created almost entirely by:
- The angle of your hand
- The point of release
- The smoothness of your grip
If you release with the hand tilted slightly inward, you’ll get more rotation.
If you release flat, the rotation slows.
If the hand tilts outward, the shoe will wobble.
A good rule:
The shoe should feel level in the hand before the swing.
If the shoe starts crooked, it will never fly straight.
How Hand Position Affects Your Release Timing
Your fingers are the last thing touching the shoe, so they control when it leaves your hand. This is where most aiming problems begin.
Early Release
- Shoe lands short
- Arc is too high
- Rotation is reduced
Late Release
- Shoe flies long
- Arc is too flat
- Rotation speeds up too much
The goal is a smooth, natural release right when the arm reaches its comfortable extension. Visualization helps tremendously here, because your mind learns the exact point your fingers should let go.
Matching Your Hand Position to Your Throwing Style
Hand positioning isn’t one-size-fits-all. It depends on:
- Arm length
- Grip strength
- Stance
- Arc preference
- Practice frequency
Some players prefer a deep grip. Others like fingertip control for more finesse. The best grip is the one you can reproduce consistently without thinking about it.
A good practice tip:
If your hand grip changes from pitch to pitch, pause and reset. Re-center the shoe in your palm before swinging.
Drills to Build Consistent Hand Positioning
These drills sharpen your grip and release faster than general practice.
1. The Static Grip Drill
Stand still and practice holding the shoe without swinging.
Focus on:
- Finger placement
- Thumb location
- Wrist alignment
Do this 20–30 times to build automatic hand memory.
2. The Slow-Motion Release Drill
Move through your throwing motion slowly.
Release the shoe softly a few feet in front of you.
Look for:
- Clean fingertip release
- Level rotation
- No wobble
This drill teaches your hand the correct exit angle.
3. The Short-Distance Consistency Drill
Stand 10–15 feet from the stake.
Focus entirely on clean rotation and repeatable release.
If the shoe stays straight for 10 throws in a row, your hand positioning is dialed in.
4. The Visualization Grip Drill
Before pitching, close your eyes for two seconds and picture the shoe leaving your hand perfectly.
The mind sets the picture, the hand follows it.
Signs Your Hand Position Is Hurting Your Game
If you’re experiencing any of the problems below, your hand positioning is likely the culprit:
- Shoes wobble or corkscrew
- Rotation is inconsistent
- Shoe feels heavy or awkward
- Release feels forced
- Arc height varies wildly
- Bounces or skid-landings happen often
- Aim drifts left or right
Fix the hand first — everything else adjusts automatically.
A Beginner-Friendly Horseshoe Set That Helps Build Proper Grip
A shoe that feels balanced makes grip training easier. For hand-position learning and repetition, a reliable, predictable beginner/intermediate shoe is ideal.
Franklin Sports Classic Horseshoe Set
This set is comfortable in the hand, easy to balance, and reliable for practicing repeatable rotation. The weight distribution is friendly for new players and steady enough for anyone working on developing consistent hand positioning.
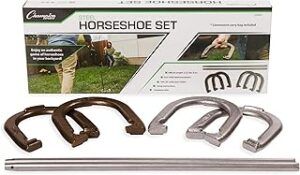
Horseshoe Game Set
Frequently Asked Questions
Does hand positioning make more of a difference than stance or follow-through?
In most cases, yes. A good stance can’t fix a bad grip, but a good grip can smooth out minor stance issues.
How long does it take to build a consistent grip?
Most players feel the difference within a week of focused drills. True muscle memory forms after a few dozen practice sessions.
Why does my shoe wobble even when I think I’m gripping it right?
Wobble usually means uneven pressure, thumb tension, or a tilted hand at release. A level grip with relaxed fingers usually fixes it.
Do all good pitchers use the same grip?
Not at all. They just use grips that they can reproduce perfectly every time.
Can visualization really improve hand positioning?
Absolutely. When you visualize the release, your fingers and wrist follow the mental blueprint.
Final Takeaway
Your hand position is the foundation of every great pitch. Once you master the way the shoe sits in your palm, the rest of your game—your arc, rotation, accuracy, and rhythm—begins to fall into place. Make hand positioning a priority, and ringers stop feeling accidental. They become part of a repeatable, confident throwing routine.
Hearing testimonials from those who’ve turned their game around by dedicating practice to hand positioning can be inspiring. Many experienced players owe their game improvements to focused training on grips and releases. Their stories are a reminder that with the right practice attitude, your transformation is waiting just around the corner.